
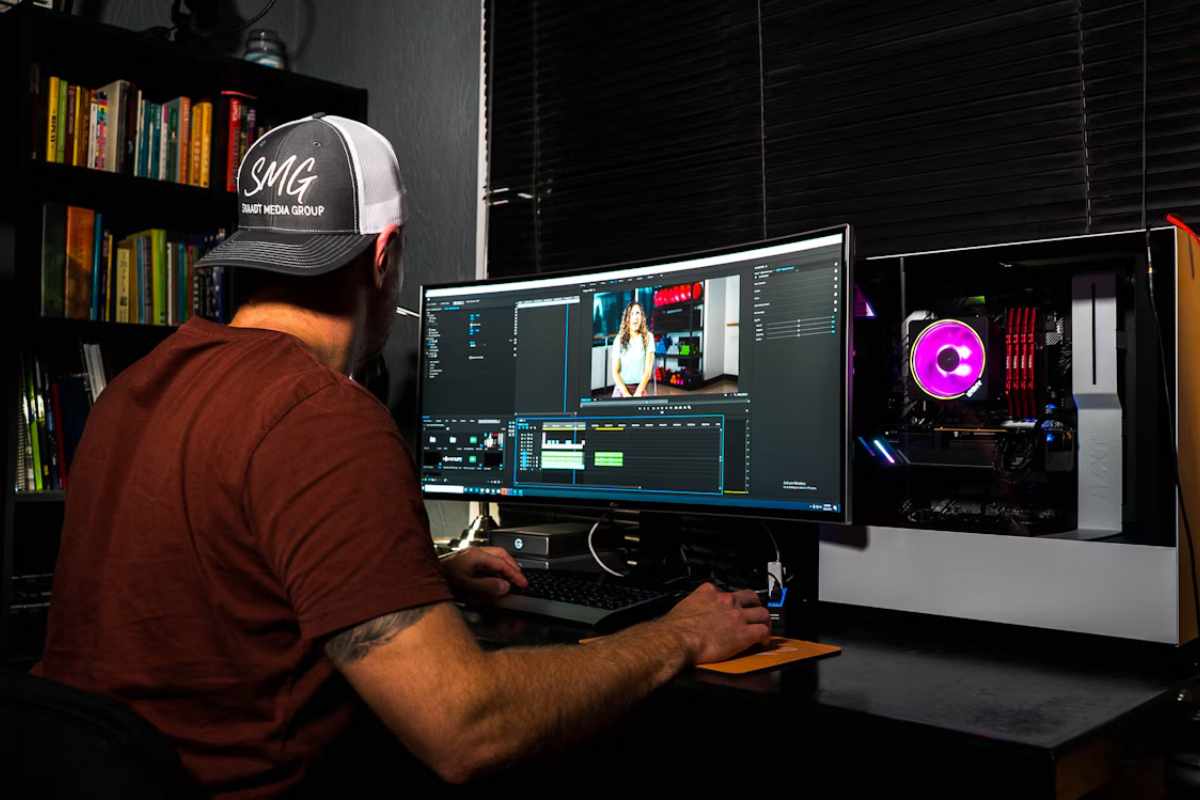
Every video editor now says “AI” somewhere on its homepage. Some of it is genuinely useful. Some of it is a button that opens a browser tab and asks you to upload your footage again.
If you’re picking an editor for a Windows PC, the label tells you almost nothing. What matters is how the thing behaves when you’re tired, the deadline is close, and you have forty clips on the timeline. This checklist is built around that moment.
1. Timeline responsiveness comes first
An AI feature can’t save you if the basics feel heavy. Before anything else, open a real project, not the demo one, and just work.
Drag a clip. Scrub back and forth. Zoom in on the timeline, then zoom out. Add a title and a couple of audio tracks. Does it keep up, or does it stutter every time you touch something?
A few things worth checking:
- Scrubbing with several tracks stacked. Two video tracks, music, and captions is a normal edit. If scrubbing lags there, it will be worse on a long project.
- Preview while effects are on. Some editors only show you the look after a slow render. You want to see it as you work.
- What your hardware is actually doing. Watch the Task Manager for a minute. If the CPU or GPU is pinned while you’re doing nothing, that’s a warning sign.
- Opening a project again the next day. Reopening should not feel like starting over.
If you plan to run AI generation locally, be honest about your machine. Local video generation generally wants a recent NVIDIA GPU, plenty of VRAM, and a lot of disk space for models. Read the requirements page for the specific model you want, not just the editor. “Supported” and “runs well on your PC” are two different statements.
2. Is the AI agent beside the cut, or in a separate tab?
This is the biggest practical difference, and it gets very little attention.
There are roughly two designs. In the first, the AI lives in its own place: a web tool, a separate panel for generating clips, or an “export, process, re-import” step. You make something over there, download it, and drag it into your timeline. It works, but you’re the courier.
In the second, the agent sits right next to the timeline and works on the same project you’re looking at. You can say “trim the pause at the start of this clip” or “bring the music down under the voiceover,” and it edits the thing in front of you.
The second design is easier to live with, for a simple reason. The agent can see your assets and your timeline, so you don’t have to explain the project every time. But it also raises questions you should test:
- Can you see what it changed? You should be able to look at the result and undo it. If an AI edit is a mystery, you’ll spend more time checking than you saved.
- Can you interrupt it? Agents sometimes head in the wrong direction. Being able to stop one, or push a new instruction in while it works, matters more than it sounds.
- Does it work on your files, or copies somewhere else? Know where your footage goes. If it’s uploaded to a cloud service, that should be clear before you start.
- Whose model is it? Some editors lock you into one language model. Others let you pick. If you care about cost or privacy, that choice is worth having.
Try one small, specific request. “Split this at 00:12 and add a fade” is a good test. A vague request like “make it better” tells you nothing about whether the tool can actually do the work.
3. Export is where the pain shows up
Editing feels fine right up until you hit Export. Then you find out what the tool really does.
Do a test export early, before you’ve invested a weekend. Check:
- Do your effects, captions, and transitions appear in the export the way they looked in the preview? This sounds basic. It fails more often than you’d think.
- Does the audio stay in sync? Watch the whole file, not just the first ten seconds.
- What formats and sizes can you choose? If you post vertical clips and widescreen videos, check both.
- How long does it take, and can you still use the computer? Some exports lock up everything else.
- Are there watermarks, caps, or paywalls at the export step? Plenty of free tiers only show these at the very end.
One more thing: anything generated by AI needs a human look before it goes out. Lip-sync can be slightly off. Characters can drift between shots. Sound effects can land a beat late. A good editor makes it easy to review. No editor removes the need to review.
4. What to verify before you commit
Here’s the short list to run through before you pay or move your whole workflow over.
Read the fine print on what’s included. Is it a subscription or a one-time license? Do AI features use credits? If the editor connects to outside services for speech, music, or lip-sync, you’ll likely need your own accounts with those providers, and they may charge separately. That’s not a dealbreaker. It just belongs in your budget.
Check how updates and downloads work. Where do you get the installer? How do updates arrive? Is the build signed? An unsigned installer isn’t automatically bad, but you should know about it and be comfortable with it.
Confirm your platform. If you also edit on a Mac, check whether that version exists and how mature it is. “Preview” means preview.
Look for honest limits. Good product pages say what doesn’t work. If a tool claims it can do everything, including feature-length films with no effort, be skeptical. Any serious tool will tell you where its edges are.
Test with your own footage. Not a sample reel. Use the kind of clips you really shoot, with your real audio problems.
Ask what happens if you stop paying or the service goes away. Can you still open your projects? Can you still export?
A quick example: one editor that puts the agent beside the timeline
To make this less abstract, here’s one editor that follows the “agent beside the cut” design: LTX Desktop Enhanced, from Version 6. It’s a Windows editor (there’s also an Apple silicon Mac preview) with an AI chat window that sits next to the timeline. You can ask it to split, trim, generate, assemble, or narrate, and it works on the same assets you can see.
A few details lined up with the checklist above. You choose which language model drives the agent in Settings. You can type while it’s working to queue your next request, or interrupt the current run and give it a new direction. It can add things like fades, cross-dissolves, and basic color looks. And the product page is open about limits: effect masks, sharpen, glow, and grain aren’t supported, a detected local model isn’t automatically ready to generate, and feature-length generation hasn’t been validated end to end. Outside services for music, speech, and lip-sync use your own accounts and may cost extra.
It’s a one-time license, and the installer comes from a private GitHub repository you get access to after purchase. The current Windows build is unsigned, which is exactly the kind of thing the checklist says to read before buying.
Full disclosure: LTX Desktop Enhanced builds on the open-source LTX Desktop and is an independent edition. It is not affiliated with Lightricks and is not an official Lightricks product. If you want to see how it handles the questions above, you can look at LTX Desktop Enhanced and compare it against your own list.
The short version
When you’re comparing Windows editors with AI features, skip the feature count. Ask four things:
- Does the timeline stay smooth on a real project?
- Does the AI work next to my edit, or off in a separate tab?
- Does the export match what I saw, with nothing hidden at the end?
- Do I know exactly what I’m paying for, and where the limits are?
Run a small real project through each candidate. An hour of testing now will tell you more than any comparison chart, and it’ll save you from finding out about a limit when the deadline is already on top of you.
